 Lynden Window
 Nooksack's Climate Is Harder on Windows Than Most Homeowners Realize
Nooksack sits inland from Bellingham Bay, but the marine air off the Salish Sea still pushes up the valley and settles against the foothills, bringing damp, salt-tinged moisture that lingers on siding, trim, and window frames for most of the year. Add the driving rain that comes through with fall and winter storms, and windows here take on water from angles that a drier climate never tests. Then there's moss season, which in this part of Whatcom County can run seven months or longer wherever a home sits in shade from fir or cedar cover. Moss doesn't just grow on roofs — it collects in window tracks, weep holes, and the gaps around old trim, holding moisture against wood and vinyl long after a storm has passed.
None of this is dramatic on its own, but it's relentless. Over years, that combination is what actually fails a window installation — not one bad storm, but hundreds of freeze-thaw and wet-dry cycles working on a seal, a sill, or a flashing detail that wasn't done right the first time. A window that's a poor match for this environment, or one installed without real attention to water management, tends to show problems on a predictable timeline: fogged glass in five to eight years, soft sills in ten, and full frame failure well before the window's rated lifespan.
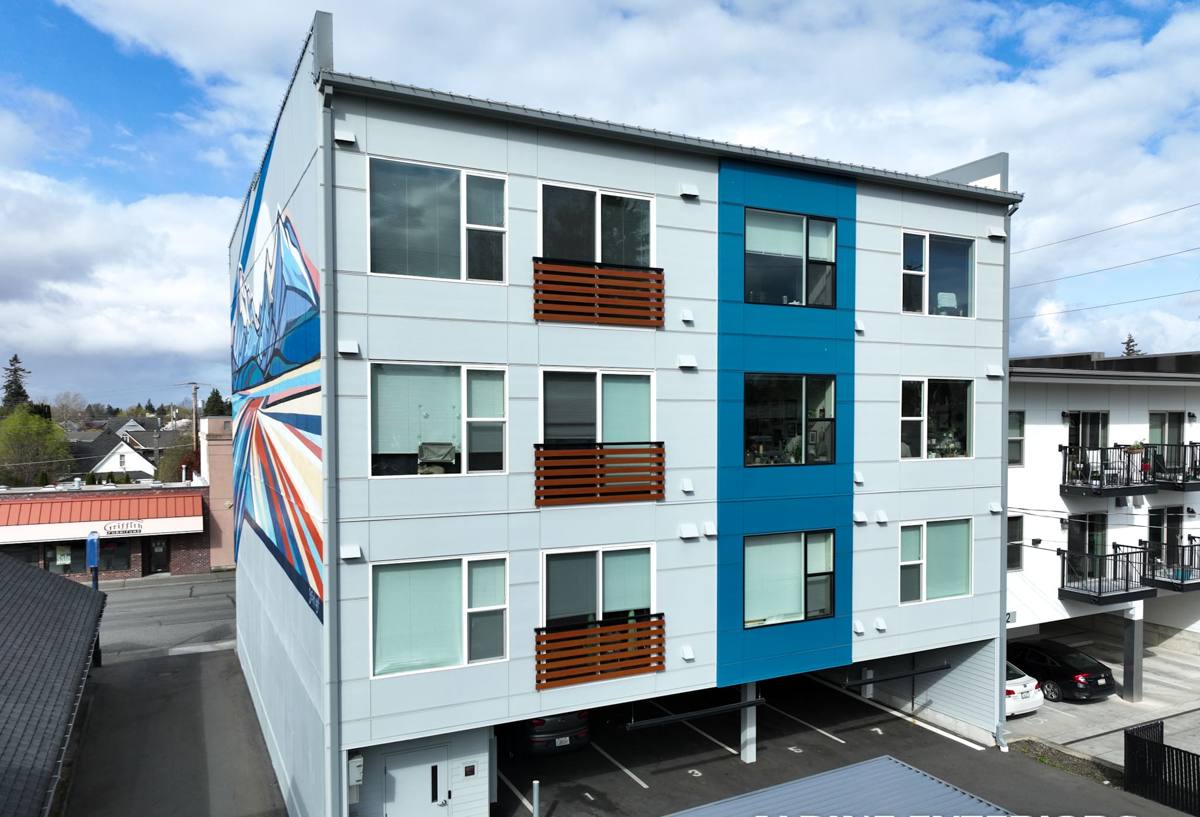
What a Correct Window Installation Actually Involves
A window installation is a water-management project first and an aesthetic upgrade second. Get the water management wrong and everything else — the trim work, the energy savings, the curb appeal — is on borrowed time.
Flashing and Water Management
Every opening needs a sill pan and flashing sequence that sheds water outward and downward, layered so each piece overlaps the one below it, shingle-style. In a climate that sees sustained horizontal rain, we pay particular attention to head flashing above the window and to how the flashing ties into the home's existing weather-resistive barrier. A window that looks perfectly installed from the street can still be failing behind the trim if this sequencing was skipped or reversed.
Air Sealing and Insulation
The gap between the window frame and the rough opening needs to be sealed and insulated correctly — not packed solid with expanding foam, which can bow a frame out of square, and not left open, which invites drafts and condensation. We use low-expansion foam or backer rod and sealant depending on the gap size, and we check that interior air sealing is continuous so moist indoor air isn't migrating into the wall cavity and condensing against cold glass or framing.
Fastening and Structural Attachment
Windows need to be shimmed plumb, level, and square before they're fastened, and fastened into structural framing — not just through trim into sheathing. A frame that's slightly out of square will bind, won't seal against its own weatherstripping, and will telegraph stress cracks in the caulk line within a year or two.
Choosing a Window Built for This Valley
There's no single "best" window material — the right choice depends on the home's exposure, budget, and how much upkeep the owner wants to do. Here's how the common options hold up under Nooksack's conditions specifically.
| Material | Moisture Resistance | Maintenance | Typical Lifespan |
|---|---|---|---|
| Vinyl | Very good — won't rot or corrode | Low; occasional track cleaning | 20-30 years |
| Fiberglass | Excellent — dimensionally stable in wet/dry cycles | Low | 30-40+ years |
| Wood-clad | Good on the exterior; interior wood needs protection | Moderate to high; requires sealed finishes | 20-30 years with upkeep |
| Aluminum | Poor in this climate without a thermal break | Low, but prone to condensation | 15-25 years |
For homes exposed to more direct weather — open yards without much tree buffer, or elevations facing the prevailing storm direction — we generally steer people toward vinyl or fiberglass for the frame material, simply because they don't give moisture anything to work with over time. Wood-clad windows can still be the right call on a home where the look matters most, as long as the owner understands the finish needs to be maintained.
Our Nooksack Installation Process
- On-site assessment. We look at existing window condition, sill and sheathing health, and how water currently moves around each opening before we ever talk product.
- Honest measurement and product fit. Exact opening sizes, plus a conversation about which frame material and glass package actually fits the home's exposure and the owner's budget.
- Removal and opening inspection. Old windows come out carefully so we can check the rough opening, sill, and framing underneath for rot or prior water damage before anything new goes in.
- Sill pan and flashing installation. This is the step that determines whether the window performs in ten years, and it's the one most often rushed by crews that don't work this climate regularly.
- Setting, shimming, and fastening. Plumb, level, square, fastened to structure — checked, not assumed.
- Air sealing and insulation. Interior and exterior sealed as a system, not just caulked around the trim.
- Trim, finish work, and cleanup. Exterior and interior trim reinstalled or replaced, site left clean.
- Walkthrough. We test operation, check the seal, and go over care before we consider the job done.
What We Commonly Find on Older Nooksack Homes
Working regularly in this valley means seeing the same failure patterns often enough to recognize them fast. The most common is rot at the bottom corners of the sill, where water that should have been diverted outward instead sat against untreated wood for years. Second is caulk that was used as the primary water barrier instead of proper flashing — caulk shrinks and cracks, and once it fails there's nothing behind it to stop water. Third, and specific to the moss season here, is weep holes and drainage tracks clogged with moss and debris, which traps water inside the frame instead of letting it drain, accelerating rot from the inside out. We also see a fair number of original aluminum-frame single-pane windows still in place on older farmhouses and outbuildings in the area, which condensate heavily and offer almost no insulation value by today's standards.
Signs Your Windows Are Due for an Upgrade
- Fog, haze, or visible moisture between the panes of double-pane glass — the seal has failed and can't be repaired
- Soft, spongy, or visibly stained wood at the sill or lower frame corners
- Windows that won't stay open, won't latch, or are difficult to operate
- Noticeable draft near the frame even with the window fully closed
- Moss or dark streaking building up in the tracks or lower corners each season
- Paint or finish that's peeling specifically around the window opening, not elsewhere on the wall
- Rooms near certain windows that feel noticeably colder or louder than the rest of the house
Why Hire a Crew That Already Works in Nooksack
Window installation instructions from a manufacturer are written for average conditions. They don't account for a valley that channels marine air, a moss season that outlasts most of the calendar year, or the specific way driving rain hits a wall depending on which direction it faces. A crew that installs windows across a range of climates might do a technically correct job by the book and still leave a home under-protected for what actually happens here. Working this specific area regularly means we've already seen how a given flashing detail or sealant choice performs after five winters, not just on install day — and we adjust our approach accordingly instead of relearning the same lesson on every house.
Caring for New Windows Through Moss Season
A correctly installed window still benefits from some basic upkeep in this climate. Clearing debris and moss from tracks and weep holes once or twice a year keeps drainage paths open. Trimming back tree cover that keeps a window in constant shade reduces how long moisture sits on the frame after a storm. Checking exterior caulk lines annually — not as a water barrier, but as the first sign something underneath needs attention — catches small problems before they become sill repairs. None of this is heavy maintenance; it's the kind of seasonal check that takes an hour and adds years to a window's service life.
What Affects the Cost of a Window Installation
| Factor | Why It Matters |
|---|---|
| Frame material | Vinyl is typically the most budget-friendly; fiberglass and wood-clad cost more upfront but differ in longevity and upkeep |
| Glass package | Double-pane vs. triple-pane, and low-E coatings, affect both price and energy performance |
| Existing opening condition | Rot or framing damage found during removal adds repair work before the new window can go in |
| Number and size of openings | Larger and less standard sizes cost more than stock sizes ordered in volume |
| New construction vs. retrofit | Retrofit into an existing wall requires more careful flashing integration than a new-build opening |
Because so much of the real cost comes down to what's found once the old window is out — not just the product itself — we avoid quoting firm numbers over the phone. A short on-site look tells us far more than a photo or a description can.
If your windows are fogging, drafting, or just past their prime, we're happy to take a look and give you a straightforward, no-pressure estimate — use the form below to get started.