 Lynden Window
 Building New in Custer? The Windows Are Not a Detail You Fix Later
Custer sits close enough to the Salish Sea and Drayton Harbor that homes here take on a different set of weather stresses than houses a few miles inland in Lynden or Bellingham. Salt-tinged air, wind-driven rain off the water, and a long wet-and-shaded moss season put real demands on a building envelope. When you're framing a new home or an addition out here, the windows aren't a fixture you drop in after the fact — they're part of the structural weatherproofing system, tied directly into the house wrap, flashing, and siding sequence. Get that sequence wrong once, and it's hidden behind finished walls for years before it shows up as a stain, a soft spot, or a mold smell in a closet.
This page is specifically about new-construction window installation in the Custer area — homes and additions where the rough openings are being framed and the windows go in before the exterior finish is applied. It's a different job than replacing an old window in an existing wall, with different products, different flashing details, and different failure points if it's done wrong.
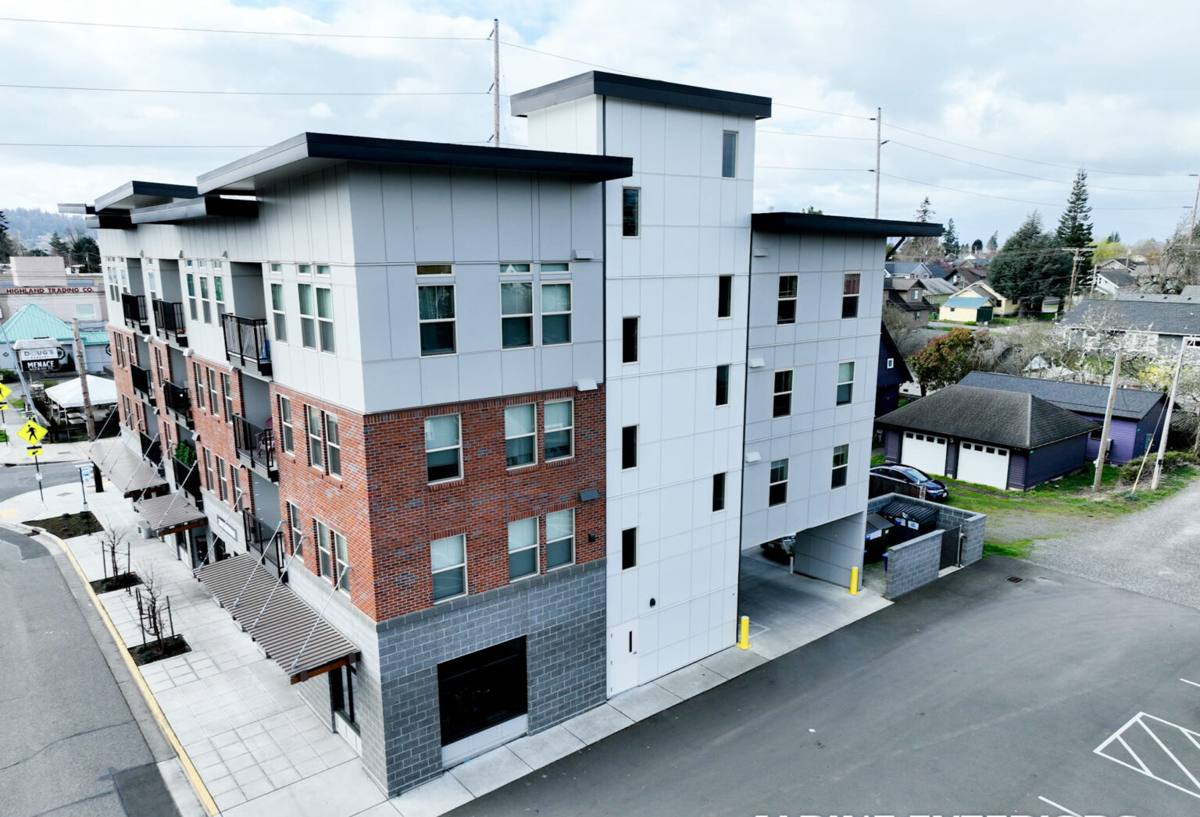
New-Construction vs. Replacement: Why the Distinction Matters
A lot of homeowners assume "window installation" is one job. It isn't. New-construction windows have a nailing flange (fin) built into the frame that gets fastened directly to the sheathing and integrated with the weather-resistive barrier (WRB) and flashing tape before siding goes on. Replacement windows, by contrast, are built to slide into an existing frame with the old exterior trim left in place, and they rely on a different sealing method entirely.
Using the wrong approach for the situation is one of the most common mistakes we see on both sides — a replacement-style unit forced into new framing loses the flange sealing advantage, and a full nail-fin unit crammed into a remodel opening can tear up siding and trim that didn't need to be disturbed. For new builds and additions in Custer, the nail-fin approach done correctly is what gives you the best long-term seal against the driving rain this area gets in fall and winter.
What "Correct" Actually Means Here
- Rough openings framed square, level, and sized to the manufacturer's exact tolerances — not "close enough"
- A sloped sill pan at the bottom of every opening, so any water that gets past the window has somewhere to go besides the framing
- Flashing tape applied in the correct shingle-lap order: sill first, then jambs, then head, each layer overlapping the one below it
- The nailing fin fully integrated with the WRB — taped, not just tucked
- Backer rod and low-expansion sealant at the interior air seal, not just caulk smeared around the exterior trim
- Head flashing or a drip cap above the window, especially on west- and south-facing walls that catch the most wind-driven rain
What Custer's Climate Actually Does to a Window Installation
Salt Air and Corrosion
Homes within a few miles of Drayton Harbor and the Birch Bay shoreline deal with airborne salt that inland Whatcom County homes largely avoid. Salt accelerates corrosion on exposed fasteners, hinges, and metal flashing. It's part of why we pay attention to fastener material and flashing metal choice on Custer jobs, not just the window unit itself — a window can be installed perfectly and still develop problems years later if the flashing or hardware underneath it wasn't rated for a coastal-influenced environment.
Driving Rain
Rain that falls straight down is easy to shed. Rain that's being pushed sideways by wind off the water is what actually gets past a window that was installed with shortcuts. This is the reason sill pan flashing and correct shingle-lap sequencing matter more here than they would in a more sheltered inland location — driving rain finds every gap in a flashing detail that gravity alone wouldn't exploit.
Moss Season
Whatcom County's long wet, shaded stretch of the year is prime moss and algae territory, especially on north-facing walls and anywhere a roofline or tree canopy keeps a wall damp longer than the rest of the house. Moss holds moisture against a surface. On window trim and sills, sustained dampness is what eventually causes wood rot or breaks down sealant faster than it should. Material choice and sill geometry — making sure water actually sheds away from the window rather than pooling on a flat sill — matter more in a moss-prone climate than in a drier one.
How Our New-Construction Process Works
1. Coordinate With Your Builder or GC Early
The best outcomes happen when window installation is planned alongside framing, not treated as an afterthought once walls are already sheathed. We work directly with general contractors and owner-builders in the Custer/Lynden area to confirm rough opening sizes, header heights, and WRB sequencing before framing is finalized, so there's no scrambling or field-modifying openings later.
2. Verify Every Opening Before Installation
Before a single window goes in, we check that each rough opening is square, plumb, and sized correctly. An opening that's out of square by even a small margin can bind a window's operating hardware for the life of the house or create uneven gaps that are hard to seal properly.
3. Install Sill Pan Flashing First
Every opening gets a sloped sill pan before the window goes in — this is non-negotiable on our jobs, coastal climate or not, but it matters more here given the rain load.
4. Set and Fasten to Spec
Windows are set plumb, level, and square in the opening, shimmed correctly, and fastened per the manufacturer's schedule — proper fastener spacing and type, not "however many nails looked right."
5. Flash and Tape in Sequence
Jamb flashing, then head flashing, each lapped correctly over the layer below so water sheds outward at every course, matching how the siding itself will be lapped.
6. Air-Seal the Interior
Backer rod and a proper low-expansion sealant at the interior gap between frame and framing — this is your air and vapor control layer, separate from the exterior weatherproofing.
7. Final Inspection Before Siding Goes On
We walk every opening before the siding crew closes it up. Once siding is on, a flashing mistake is expensive to find and fix — this is the point where it needs to be right.
Choosing Window Materials for a Coastal-Influenced Climate
There's no single "best" frame material for every project — it depends on budget, maintenance appetite, and how exposed the specific wall is to wind and salt air. Here's how the common options actually compare for a Custer build:
| Frame Material | Coastal/Moisture Performance | Maintenance | Typical Trade-off |
|---|---|---|---|
| Vinyl | Good — won't rot or corrode; UV-stable modern formulations hold up well | Low — occasional cleaning | Frame color/style options more limited than wood or fiberglass |
| Fiberglass | Very good — dimensionally stable, resists warping in wet/dry cycles | Low | Higher upfront cost than vinyl |
| Wood / Wood-clad | Handsome, but wood is the most vulnerable component to sustained moisture and moss-season dampness if detailing or maintenance lapses | Higher — periodic refinishing, especially on exposed elevations | Best suited to sheltered walls or homeowners committed to upkeep |
| Aluminum | Strong, but a poor thermal performer and prone to condensation in our wet winters unless thermally broken | Moderate | Usually reserved for large commercial-style openings |
Our standard recommendation for new construction in the Custer area leans toward vinyl or fiberglass on exposed or west/south-facing elevations, with wood or wood-clad reserved for sheltered walls where its appearance can be enjoyed without fighting the climate. We'll walk your specific elevations with you rather than apply a blanket rule to the whole house.
What Drives Cost on a New-Construction Window Job
| Factor | Why It Matters |
|---|---|
| Number and size of openings | More glass area and larger units mean more material and labor per opening |
| Frame material | Vinyl is the most budget-friendly; fiberglass and wood-clad cost more upfront |
| Glass package | Double vs. triple pane, and specific low-E/argon options, affect both cost and long-term energy performance |
| Wall exposure | Openings on wind- and rain-exposed elevations may warrant extra flashing detail or upgraded sealants |
| Site access and timing | Coordinating install timing with framing and siding crews affects scheduling but not usually unit cost |
We'll always give you a straightforward, itemized estimate rather than a vague ballpark — new-construction pricing depends heavily on the specifics of your plan set, so an accurate number comes from actually reviewing your openings.
A Practical Checklist Before You Sign With Any Window Contractor
- Ask whether they install sill pan flashing on every opening as standard practice, not an upsell
- Confirm they'll coordinate directly with your GC or framer on rough opening sizing before framing is locked in
- Ask how they handle flashing sequencing relative to your WRB and siding — the order matters
- Get a materials breakdown, not just a per-window price, so you know what frame and glass package you're actually getting
- Ask about fastener and flashing metal compatibility if your lot is within a few miles of saltwater
- Confirm someone will walk and inspect every opening before siding closes it up
Why a Crew That Already Works in Custer Makes a Difference
Whatcom County covers a lot of ground climate-wise — a home a few miles inland near Lynden doesn't see the same salt exposure or wind-driven rain patterns as one closer to the water near Custer and Birch Bay. A contractor who works this specific area regularly already knows which elevations tend to take the worst weather, how local framing crews typically sequence their work, and what detailing has actually held up over time versus what looks fine on install day and fails in year three. That local pattern recognition is hard to substitute for, and it's the difference between a window installation that's technically to code and one that's actually built for where it sits.
If you're planning a new build or addition in the Custer area and want your windows handled as part of a coordinated, coastal-aware installation process — not a bolt-on afterthought — we'd be glad to take a look at your plans. Reach out for a free, no-pressure estimate using the form below.