 Lynden Window
 Siding Built for Blaine's Coastal Edge
Blaine sits close enough to the water that homes here take on a different kind of weather load than siding further inland in Whatcom County. Salt-laden air off the coast, wind-driven rain that finds every gap in a wall assembly, and a moss season that can stretch from October through May all combine to shorten the life of the wrong siding product. We're a Lynden-based crew that already works this stretch of the county, and Blaine siding installation is a regular part of our schedule — not a special trip.
The homes we see here range from older single-wall construction that's never had a proper water-resistive barrier to newer builds where the siding is failing years ahead of schedule because the wrong product was used for the exposure. Either way, the fix starts with understanding what the site is actually up against before a single board goes up.
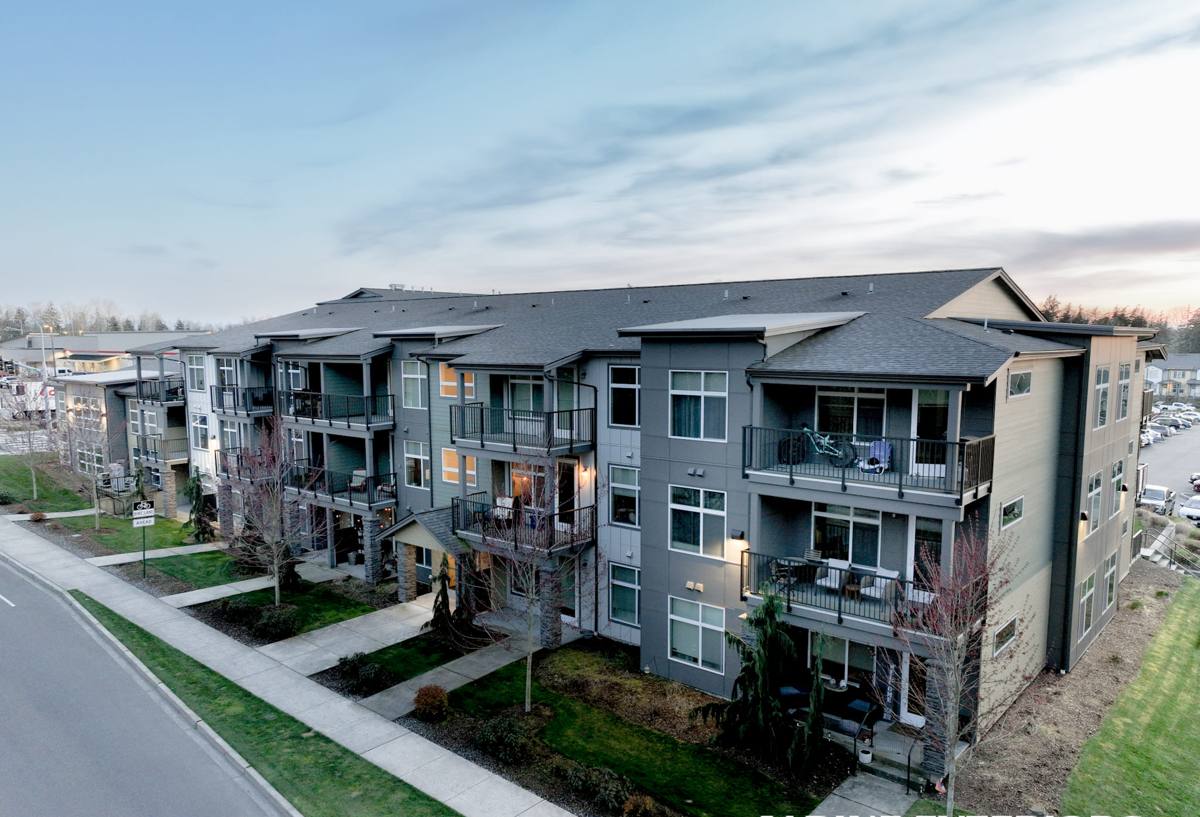
What Salt Air and Driving Rain Do to Siding
Homes closer to Semiahmoo Bay and the shoreline deal with airborne salt that accelerates corrosion on fasteners, flashing, and any exposed metal trim. Combined with wind-driven rain — which pushes moisture sideways into laps and seams instead of letting it run straight down — this is a harder environment than a typical inland Lynden lot.
The Three Things That Fail First
- Fasteners: Uncoated or under-spec nails and screws corrode faster near the coast, leaving rust streaks and eventually losing their grip on the siding.
- Butt joints and laps: Any siding installed with tight, caulk-dependent joints instead of proper shingle-lap technique will start taking on water within a few wet seasons.
- Untreated cut edges: Field cuts that aren't sealed become the entry point for moisture, especially on a product that swells or wicks water once its factory coating is breached.
Moss adds a slower but equally damaging problem. In shaded, north-facing walls and under roof overhangs, moss and algae hold moisture against the siding surface for months at a time. On products that aren't dimensionally stable or that absorb water, that constant damp contact leads to soft spots, delamination, or paint failure well before the rest of the house shows its age.
Why We Only Install James Hardie Fiber Cement
We don't install vinyl, LP SmartSide, cedar, primed spruce, Cemplank, or Allura. That's not a marketing position — it's a standard we set after weighing how each of those products actually performs under Whatcom County's coastal-adjacent conditions over the long haul.
Vinyl is inexpensive and low-maintenance in dry climates, but it expands and contracts with temperature swings, and in wind-driven rain it relies almost entirely on lap geometry (rather than a sealed surface) to keep water out — any warping or gapping from age becomes a direct path for moisture. Wood-based products like cedar and primed spruce look great initially, but they're organic material in a climate that stays damp for much of the year; without near-perfect maintenance, moss, rot, and paint failure show up early. Engineered wood siding (LP SmartSide) improved on solid wood's weaknesses but is still a wood-strand product — edge and cut-end sealing has to be flawless, and it remains more vulnerable to sustained moisture exposure than fiber cement.
James Hardie fiber cement is non-combustible, dimensionally stable, and doesn't absorb water the way wood-based products do. Its factory-applied ColorPlus finish is baked on under controlled conditions, giving it better fade and moisture resistance at the surface than field-applied paint. Hardie also engineers specific product lines (the HZ5 line, for example) for harsher climate zones — which matters directly in a place like Blaine where salt exposure and rain load are both elevated. It's the one product line we've found holds up to spec here without demanding constant upkeep from the homeowner.
What a Correct Installation Actually Involves
Fiber cement performs exactly as well as its installation. A rushed or undersized crew can install Hardie board incorrectly and create the same moisture problems we're trying to avoid — the product isn't magic, the assembly has to be right.
Non-negotiables on every job
- A continuous water-resistive barrier (weather-resistant house wrap or equivalent) installed and lapped correctly, shingle-style, top over bottom.
- Proper flashing at every window, door, and penetration — this is where most water intrusion actually starts, not in the field of the siding itself.
- Correct fastener type and placement per Hardie's published fastening schedule, driven flush (not overdriven, which cracks the board's edge and creates a moisture entry point).
- Minimum clearances maintained — siding held up off roof lines, decks, and grade so it's never sitting in standing water or trapped debris.
- All field-cut edges primed and sealed before installation, not after.
- Correct joint treatment at every butt seam, using Hardie's specified joint method rather than caulk alone.
Skipping any one of these doesn't show up as a problem on install day — it shows up two or three winters later, which is exactly why hiring for the install quality matters as much as hiring for the product.
Our Process for Blaine Siding Installation
- On-site assessment: We walk the exterior, check the current wall assembly (or existing siding, if this is a replacement), and note exposure-specific risk areas — north-facing walls, overhangs prone to moss, and any spots showing past water intrusion.
- Scope and product selection: We spec the right Hardie product line and profile for the home's exposure and the owner's style preference, and put together a written scope covering trim, flashing, and water barrier work — not just the siding panels.
- Tear-off and prep (if replacing existing siding): We remove old material, inspect sheathing for hidden rot or damage, and repair anything compromised before new siding goes up. Covering over a damaged wall is how small problems become expensive ones.
- Water barrier and flashing installation: This is the step that actually keeps water out of the wall — done correctly and inspected before the siding covers it up.
- Siding installation to spec: Fastening schedule, joint treatment, clearances, and cut-edge sealing all done per Hardie's installation requirements.
- Final walkthrough: We check caulking, trim details, and touch-up paint at cut edges, and go over care and maintenance expectations with the homeowner.
Why a Crew That Already Works Blaine Matters
Coastal-adjacent installation work isn't the same as installing siding on a sheltered inland lot. A crew that already works this area knows which walls face the worst wind-driven rain, where moss builds up fastest given the tree cover and shade patterns common around Blaine, and how much margin to build into flashing details versus a standard inland job. That's knowledge that comes from doing the work here repeatedly, not from a general specification sheet.
Being based in Lynden also means we're a short drive away for follow-up, warranty questions, or a maintenance check — not a crew that installed once and moved on to the next region.
Cost Factors for Blaine Siding Installation
Every project is different, but the factors that move the price on a Blaine job tend to be consistent. Below is a general guide to what affects scope and cost — not a quote.
| Factor | Why It Matters Here |
|---|---|
| Existing wall condition | Hidden rot or moisture damage found during tear-off adds repair scope before new siding can go on. |
| Exposure and orientation | Walls facing prevailing wind and rain, or shaded north-facing walls prone to moss, may need extra flashing detail or product line upgrades. |
| Home size and complexity | More corners, windows, and roof lines mean more flashing and trim work relative to the flat field area. |
| Product line and profile | HZ5-rated boards and certain profiles (lap vs. shingle vs. panel) carry different material costs. |
| Access and site conditions | Tight lots, mature landscaping, or difficult staging areas can add labor time. |
Signs Your Blaine Home Needs Siding Attention Now
- Persistent moss or algae staining on north-facing or shaded walls that keeps returning after cleaning.
- Soft spots, bubbling, or visible swelling anywhere on the siding surface.
- Rust streaking near fasteners or trim, especially on walls facing the water.
- Paint or finish failure well before the siding's expected service life.
- Visible gaps or warping at butt joints and corners.
- Water stains on interior walls near exterior corners, which often trace back to failed flashing rather than the siding field itself.
If your home shows any of these signs, catching it early usually means a simpler repair — waiting typically means sheathing damage that turns a siding job into a larger repair.
If you're weighing a siding project in Blaine, we're happy to walk the property, look at what your home's exposure actually demands, and put together a straightforward, no-pressure estimate. Use the form below to get started.