 Lynden Window
 Building New in Deming: What the Windows Actually Have to Handle
Deming sits back from the coast, tucked into the foothills along the Nooksack River corridor east of Lynden. You don't get the same salt-laden air here that homes closer to Bellingham Bay or Birch Bay deal with, but you still get everything else Whatcom County throws at a building envelope: long stretches of driving rain off the Sound, heavy shade under fir and cedar canopy in a lot of the wooded lots out this way, and a moss and mildew season that can run eight or nine months out of the year. On a new build, the windows are one of the first weak points that show up if the install isn't done right — and unlike a remodel, you only get one shot at it before siding, trim, and interior finish close everything up.
New construction gives us an advantage retrofit work never does: we're setting windows into a raw opening before any of that finish work happens, which means the flashing and water management can be done the way the window manufacturer and code actually intend, not worked around after the fact. That's the whole case for getting this right the first time in a place like Deming, where a lot of new builds are on wooded or sloped lots with limited eave overhang and a lot of exposure to wind-driven rain.
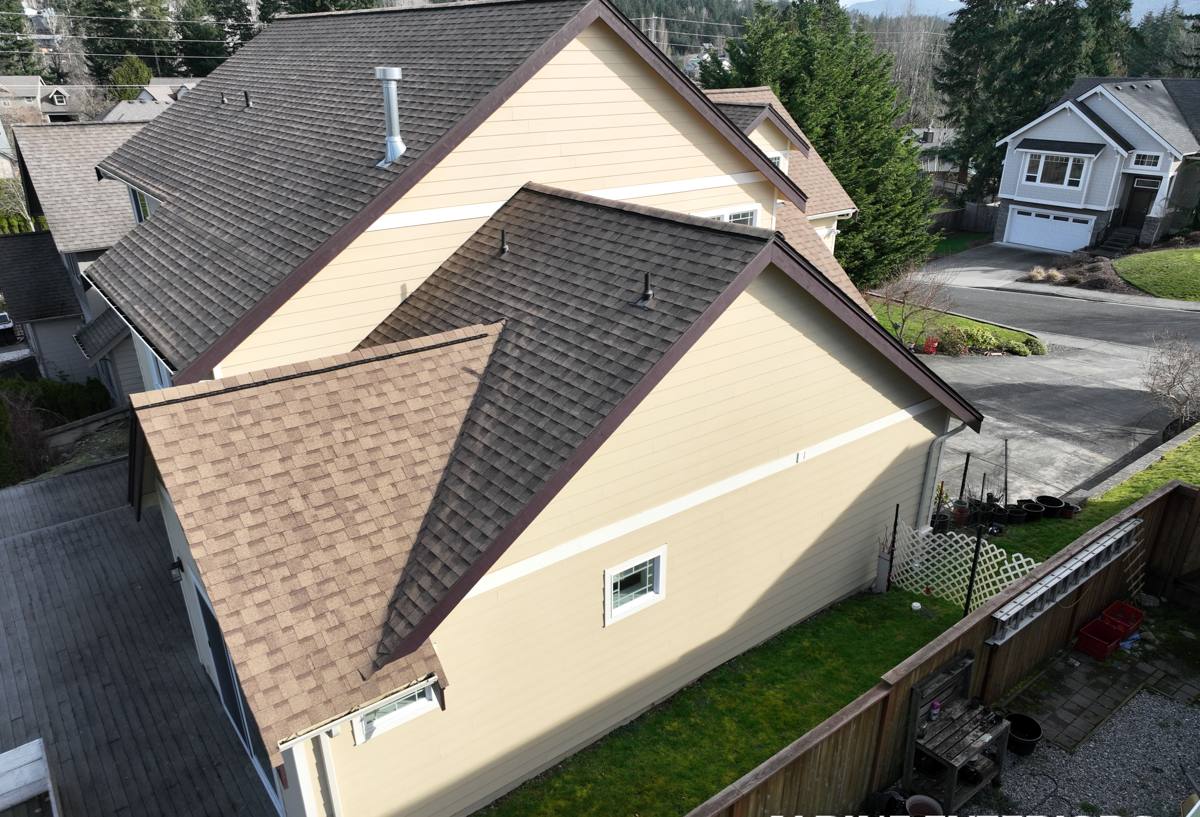
New-Construction vs. Retrofit: Why the Job Is Different Here
A retrofit window goes into an existing, already-flashed opening — you're working with what's there. New construction is the opposite: we're building the water management system from scratch, which means more steps but also more control. On a Deming build we're typically working directly with the framer's rough openings, the WRB (weather-resistive barrier) installer, and sometimes the siding crew, so timing and sequencing matter as much as the window itself.
The tradeoff is that new-construction work leaves no room for shortcuts. A retrofit window with a slightly imperfect seal might survive years on a wall that already sheds water reasonably well. A new-construction opening flashed wrong becomes a hidden moisture path behind siding that won't get discovered until there's rot, and by then it's a much bigger repair than it would have been to do right at framing stage.
What "Correct" Means on a New Build
For us, correct means the opening is flashed in the right shingle-lap order — sill pan first, then the WRB integrated over the flanges in sequence — before the window ever goes fastened into the rough opening. It sounds basic, but on a busy job site with multiple trades moving fast, this is exactly the step that gets rushed or skipped.
What a Correct New-Construction Window Install Involves
Rough Opening and Sill Pan
Every opening gets checked for square and level before anything is installed, and a sloped sill pan flashing goes in first. This gives any water that does get past the window a way out, rather than a flat surface where it can pool and eventually find a path into the wall assembly.
Nailing Fin and WRB Integration
The window's nailing fin has to be integrated with the weather-resistive barrier in the correct shingle-lap sequence — housewrap or building paper lapped over the top flange, tucked under the side flanges, with the sill pan lapped under everything. Get this order backwards and you've built a water trap instead of a water shed.
Fastening and Shimming
Windows get shimmed at the manufacturer's specified points, not just at the corners, so the frame doesn't bow under fastening pressure. A bowed frame is one of the more common causes of a window that won't operate smoothly for the life of the house, and it's invisible from outside once the siding goes on.
Interior and Exterior Sealing
Low-expansion foam or backer rod and sealant around the frame perimeter on the interior side, and the correct exterior sealant joints left open where they need to be (usually the sill) so any incidental moisture can still drain instead of getting trapped.
Choosing Frame Material and Glass for a Deming Build
Most new-construction homes in this area land on vinyl or fiberglass frames, with wood-clad used on some higher-end builds. Each has real tradeoffs worth understanding before you lock in a spec with your builder.
| Frame Type | Moisture Behavior | Maintenance | Typical Fit |
|---|---|---|---|
| Vinyl | Won't rot; performs well in sustained wet weather | Low — occasional cleaning | Most standard new-construction builds |
| Fiberglass | Very stable, minimal expansion/contraction in temperature swings | Low | Larger openings, higher-performance specs |
| Wood-clad | Good if cladding and sealant stay intact; interior wood exposed to humidity if unmaintained | Higher — sealant and clad joints need periodic checks | Design-driven builds wanting a wood interior look |
On glass, double-pane with a low-E coating is the baseline we'd recommend for any new build out this way given how many overcast, low-light months this area gets — it manages heat loss without darkening the interior. Argon-filled units are worth the modest upcharge for the better insulating value, especially on north- and west-facing walls that take the brunt of the weather.
Our Process From Framing to Final Trim
- Site visit during framing — we walk the rough openings before drywall or siding lock anything in, catching sizing or squareness issues early.
- Flashing and sill pan install — done in sequence with the WRB installer so the water management layers are continuous, not patched together after the fact.
- Window set and shim — squared, shimmed at load points, fastened per manufacturer spec.
- Seal and insulate — interior foam/sealant, exterior sealant joints, with drainage paths left open where required.
- Final walkthrough — every unit operated, checked for square reveal, and inspected before the crew leaves the job.
Cost Factors to Plan For
New-construction window pricing depends less on brand and more on the variables below. We'll walk through actual numbers on-site since every plan set is different, but this is what typically moves the price:
| Factor | Why It Matters |
|---|---|
| Number and size of openings | Larger units and more openings mean more flashing and labor time, not just glass cost |
| Frame material | Fiberglass and wood-clad run higher than vinyl for the same opening size |
| Glass package | Low-E and argon fill add modest cost per unit but pay back in comfort and energy performance |
| Site access and lot conditions | Sloped or wooded Deming lots can add setup and staging time compared to a flat, open lot |
| Coordination with other trades | Timing install around framing and WRB crews affects scheduling but not usually final cost if planned early |
Why a Local Lynden Crew Matters for a Deming Build
We're not driving in from out of the county to hit a schedule slot — Lynden is a few miles from Deming, and we already know the kind of framing tolerances, siding sequences, and inspection expectations local builders use in Whatcom County. That matters on new construction specifically because window install has to sync with the framer, the WRB installer, and often the siding crew, all inside the same week or two. A crew that's worked these builds before doesn't need the timeline explained to them.
It also matters after the job's done. If a question comes up during final inspection, or a builder wants a second set of eyes on a flashing detail before siding closes it in, we can be back on-site the same week — not scheduling around a multi-week backlog from a company based somewhere else in the region.
A Checklist Before Window Install Day
- Confirm final window schedule matches the plan set — sizes, swing direction, and grille pattern if applicable
- Verify rough openings are framed square and to spec before the crew arrives
- Confirm WRB (housewrap) is on-site and staged so flashing sequencing isn't held up
- Walk sill pan flashing and lapping order with the crew lead before the first window goes in
- Check that shimming and fastening points meet manufacturer instructions, not just "looks straight"
- Have interior and exterior sealant details reviewed before siding or drywall closes the opening in
- Do a final operation check on every unit — smooth swing or slide, proper latch engagement — before signing off
Common Mistakes We See on New Builds
Most of the problems that show up later trace back to a handful of repeatable mistakes: flashing installed out of shingle-lap order, sealant applied at the sill where it should be left open for drainage, fasteners driven without shims at the right load points, and openings that were slightly out of square getting forced instead of corrected. None of these are hard to avoid — they just require slowing down at the one stage of the build where nobody's watching yet, because nothing looks wrong until years later when moisture finds the gap that was there all along.
If you're planning a new build in Deming or already mid-framing and want a second opinion on your window schedule or rough openings, we're happy to take a look. Fill out the form below for a free, no-pressure estimate.