 Lynden Window
 Why Birch Bay Siding Wears Differently
Birch Bay sits close enough to the water that siding on these homes takes a different kind of beating than siding a few miles inland in Lynden or Ferndale. Salt-laden air moves off the water and settles on exterior walls day after day, accelerating corrosion on fasteners, trim, and any exposed metal flashing. Add Whatcom County's long wet season, driving rain that gets pushed sideways by wind off the bay, and a moss season that can run from fall through spring, and you have an exterior envelope that's under near-constant moisture pressure for much of the year.
None of this means siding fails fast in Birch Bay. It means the failure points are predictable, and a repair crew that has actually worked this stretch of coastline knows where to look first: bottom courses near grade, inside corners that trap runoff, anything facing the prevailing wind and rain direction, and north-facing walls where moss gets a permanent foothold because they never fully dry out.
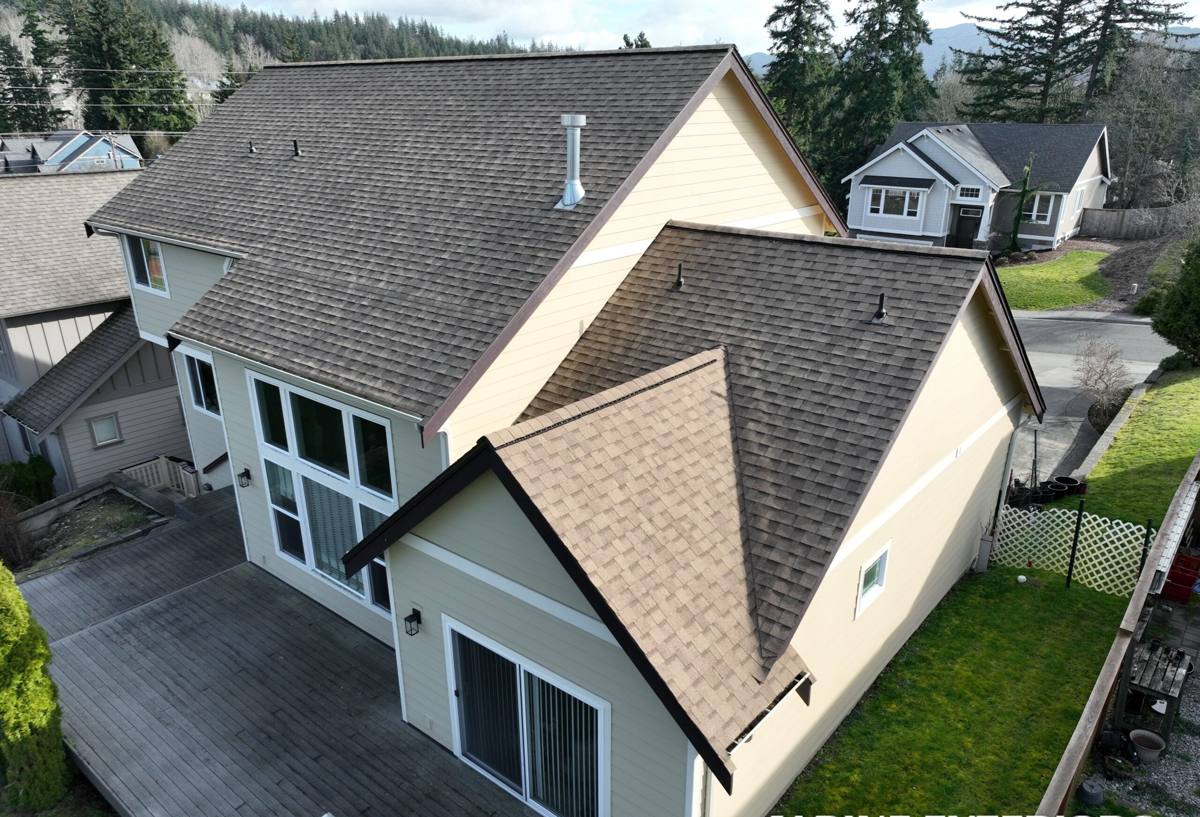
What Salt Air, Rain, and Moss Actually Do to Siding
Salt Air
Airborne salt is mildly corrosive and mildly hygroscopic — it pulls moisture out of the air and holds it against whatever surface it lands on. On siding, that means fasteners, nail heads, and any unprotected metal trim corrode faster than they would a few miles inland. On wood-based or engineered wood products, that persistent surface moisture accelerates swelling, delamination, and paint failure at the film level.
Driving Rain
Birch Bay gets weather off the water, and wind-driven rain doesn't just fall — it's pushed sideways and upward into laps, seams, and butt joints that were designed for water running straight down. Over years, this drives moisture behind siding at joints that weren't flashed or caulked correctly the first time, which is where most of the rot and swelling we find during a repair inspection actually starts.
Moss
Moss needs shade, moisture, and time — Birch Bay's tree cover and long damp season provide all three. Moss itself doesn't destroy siding directly, but it holds water against the surface far longer than bare siding would dry on its own, and it's often the first visible sign that a section of wall isn't shedding water the way it should.
Signs a Birch Bay Home Needs Siding Repair
- Soft or spongy spots when you press on siding near the bottom courses or around window trim
- Visible swelling, bubbling, or delamination on wood-based or engineered wood siding
- Persistent moss or dark staining that keeps returning to the same section within a season or two
- Gaps opening up at butt joints, corners, or where siding meets trim, window casings, or the foundation
- Paint that's peeling, cracking, or failing in patches rather than evenly across the wall
- Nail heads or fastener rows showing rust streaks running down the siding face
- Warping or buckling panels that no longer sit flat against the wall
- A musty smell or visible moisture inside on an exterior wall that lines up with damaged siding outside
Any one of these on its own might be minor. Several showing up on the same wall, especially a wall facing the water or prevailing wind, usually means moisture has been getting behind the siding for a while — and the visible damage is smaller than what's happening underneath.
What a Correct Repair Actually Involves
A proper siding repair is not just replacing the damaged boards and moving on. Done right, it starts with figuring out why that section failed in the first place — because if the underlying cause isn't addressed, the replacement piece will fail again on the same timeline.
Step 1: Diagnose the Cause, Not Just the Symptom
We pull back the damaged section far enough to see the sheathing, house wrap, and flashing underneath. In Birch Bay specifically, we're checking whether water is getting in from wind-driven rain at a joint, wicking up from grade contact, or sitting under moss that's been holding moisture against the wall for months.
Step 2: Assess What's Behind the Siding
If the sheathing or framing underneath is soft, delaminated, or shows rot, that has to be addressed before new siding goes back on. Patching over compromised sheathing is how a small repair turns into a bigger, more expensive one a year or two later.
Step 3: Correct the Water Path
Where the original problem is a flashing or drainage gap — a missing kickout flashing, a butt joint without proper overlap, trim that traps water instead of shedding it — that detail gets corrected as part of the repair, not just re-covered with new siding in the same configuration.
Step 4: Match or Upgrade the Material
Where the existing siding is a wood-based or composite product that's showing the kind of swelling and moisture damage common in Birch Bay's climate, we'll walk you through whether a like-for-like patch makes sense or whether that section (or wall) is a better candidate for a durable fiber cement replacement instead of repeatedly repairing a material that struggles with sustained moisture exposure.
Repair vs. Replacement: How We Help You Decide
Not every damaged section needs a full re-side, and we won't push a bigger job than the home needs. But there's a point where repeated small repairs cost more over time than addressing a wall properly once. Here's how we think through it with homeowners:
| Situation | Typical Recommendation | Why |
|---|---|---|
| Isolated damage on one section, sound material elsewhere | Targeted repair | The rest of the siding is performing fine; no reason to replace what isn't failing |
| Damage concentrated on the water- or wind-facing side only | Repair that side, monitor the rest | Exposure is directional in Birch Bay; other elevations often age much slower |
| Recurring moss and moisture on the same wall despite repairs | Investigate drainage/flashing before repairing again | Repeated failure in one spot almost always points to a water path, not bad luck |
| Widespread swelling, soft spots, or delamination across multiple walls | Full re-side with fiber cement | Patching a material that's failing broadly just delays a larger repair at higher cost |
| Siding is 20+ years old and showing age-related wear house-wide | Replacement conversation, even if damage is currently minor | Older material nearing end of service life rarely justifies more patch spending |
Why Fiber Cement Repairs and Holds Up Better in This Climate
We install and repair James Hardie fiber cement siding exclusively, and Birch Bay's climate is a big part of why. Fiber cement doesn't absorb and swell with moisture the way wood-based products can, it's non-combustible, and Hardie's ColorPlus factory finish is engineered to hold color and resist the kind of fading and film failure that salt air and UV exposure cause over time. For repair work specifically, that means a patched section of Hardie siding is matching a material that's dimensionally stable and moisture-resistant to begin with — not repairing one moisture-sensitive board only to have the boards next to it start swelling on their own schedule a year later.
Hardie's HZ5 product line is engineered for exactly this kind of climate — cold, wet, and coastal-influenced — which is why it's the standard we hold repairs and replacements to on every Birch Bay project, rather than treating repair work as a lesser standard than new installation.
Our Process for Birch Bay Siding Repair
- On-site assessment. We walk the exterior, check the elevations most exposed to weather off the water, and identify every section showing damage — not just the spot you called about.
- Probe behind the surface. Visible damage is confirmed against what's happening underneath before we scope the work, so the estimate reflects the actual repair, not just the visible symptom.
- Written scope and honest options. You get a clear explanation of what's failing, why, and whether targeted repair or a larger fix makes more sense — with the reasoning laid out, not just a number.
- Correct the water path first. Any flashing, caulking, or drainage detail that contributed to the damage gets fixed as part of the job.
- Repair or replace with fiber cement. New sections are installed to manufacturer spec — correct fastening, clearances, and joint treatment — so the repair performs as long as the surrounding siding.
- Final walkthrough. We review the completed work with you and point out anything worth keeping an eye on going forward.
Maintenance That Extends the Life of a Repair
- Rinse siding periodically, especially north-facing and shaded walls where moss and grime build up fastest
- Keep gutters clear so overflow isn't running down and pooling against siding at the roofline
- Trim back vegetation and tree cover that keeps a wall shaded and slow to dry after rain
- Check caulking at trim, window, and door joints annually — driving rain finds gaps quickly in this climate
- Watch grade and landscaping so soil or mulch isn't holding moisture against the bottom courses
- Address moss early rather than letting it sit through another wet season
Why It Matters to Hire a Crew That Already Works Birch Bay
Siding repair looks straightforward from the outside — pull off a bad board, put on a new one. Done poorly, it's a way to hide a moisture problem for a season or two before it resurfaces worse. A crew that regularly works Birch Bay and the surrounding Whatcom County coastline already knows which elevations take the worst of the wind-driven rain, where moss holds on longest, and what a fastener corrosion pattern looks like when salt air is the cause versus a simple installation defect. That local pattern recognition is the difference between a repair that fixes the actual problem and one that just looks fixed until the next wet season.
If you're seeing soft spots, recurring moss, or damage on your siding, we're happy to take a look and give you a straightforward read on what's going on and what it would take to fix it right. Reach out for a free, no-pressure estimate — the request form is right below.